Friday 27 September 2013

Soap Carving Kids Craft

My daughter was given a set of wood carving tools last weekend for her tenth birthday. She was super eager to try them out after  recently seeing some older neighbourhood kids carving sticks.  After whittling for a few minutes we quickly found out it's a little harder then it looks.


 We had made pantry soap over the summer and I remembered thinking it would be perfect for carving.  A bar of store soap would work as well.


The soap was cut into manageable blocks.  We used cotton swabs dipped in warm water to correct gouges and toothpicks were nearby to engrave designs.  We never got that far because we were having too much fun with the shaping stage and ran out of time.  The shavings were all saved in a container to be reshaped into soap bracelets.


Emily practising her grooves with the different tips of the carving tools.  Younger kids under 8 years could do this craft too with toothbrushes, vegetable peeler's or plastic pumpkin carving tools and a little help and supervision from a parent.


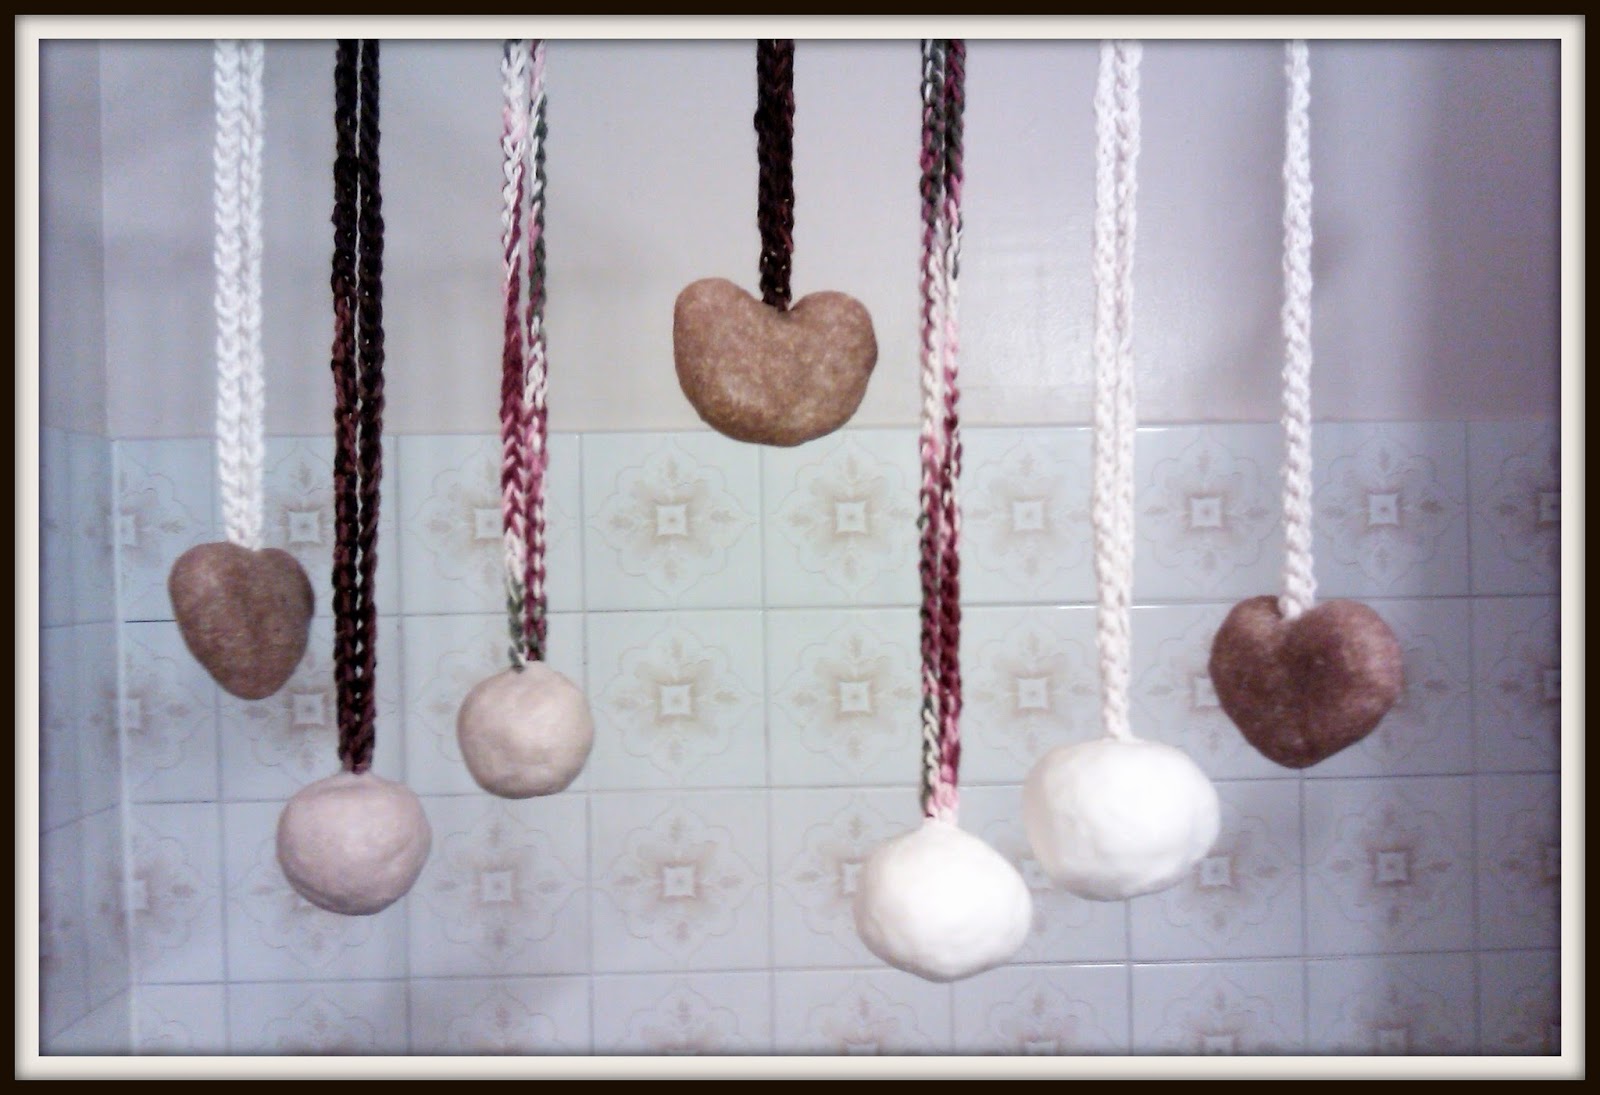
I found some free patterns compliments of Grandma Ideas to use another time.  And a good tutorial on how to carve a whale by Ivory Soap.  When we were finished we had a heart soap, a tulip, and an Inukshuk (looks more like a gingerbread boy) and very clean hands!

The soaps will dry for a day or two and then be polished gently with a paper towel.  We may try painting the soap's batik style but for now the kids are having fun washing their hands with it.

Update

Last week my youngest was having a bit of a trouble solving a problem with one of her best friends.  In the morning her friend knocked on our door and gave her the cutest "I'm sorry" I have ever seen...a piece of ivory soap carved into the shape of a heart with inscription.


The back of the soap is engraved with "I'm Sorry".


The front has "To Claire" and the child's name.  

Feel free to share your craft projects, photo's and stories on our Facebook Page.  We would love to see them!


Wand Craft for Kids


My children love stopping by the neighbors garden to see their reflections in mystical gazing globes similar to these gorgeous balls from "Gnome Town".


We have even considered making our own. 


In the meantime, my daughter's friend needs a wand to complete a costume. 


We gathered some supplies from around the house including a  giant marble, tin foil, silver duct tape, tinsel, a washer, jewelry wire, sticks and hot glue.  The next close up shows the wired marble glued to the top and wrapped with wire around the covered stick.


We made this gazing wand in the short time it took to heat the glue gun for under $1.00.  


I think she likes it!


Feel free to share your craft photo's and head on over to our Facebook Page.  We would love to see them!


Tuesday 24 September 2013

Crochet Tawashi Scrub Sunflower Pattern Free

 
A friend of mine introduced me to a popular Japanese scrubbing cloth called a Tawashi about a year ago and I just can't rave enough about them.  For starter's, they get the dishes super clean and when crocheted with a fine fibre acrylic yarn they help the environment by putting less detergent into our lakes, rivers and oceans.  Plus, they are stinkin' cute!
 
The Sunflower tawashi pattern was created in my dreams one night after looking online for a nubby scrub.  I decided it would be faster to write a pattern then look for a free one.  They turned out so adorable I just have to share the pattern and spread the love.

 
Free Pattern Instructions:
Base
With brown acrylic, ch 2.
Rnd 1: Work 8 sc in the first ch.
Rnd 2: In a continuous round spiral working through the back loops only, stitch 2 sc in each st around – 16 sts.
Rnd 3: Working through back loops only, work * 2 sc in next st, sc in next st, rep from * around – 24 sts.
Rnd 4: Working through back loops only, work * 2 sc in next st, sc in each of next 2 sts, rep from * around – 32 sts.
Rnd 5: Working through back loops only, work * 2 sc in next st, sc in each of next 3 sts, rep from * around – 40 sts. Fasten off.
Spiral
From right side, join brown acrylic with sl st in front loop of the first st on Rnd 1.
Rnd 1: Working through front loops only work *1 sc  in first st and continue by chaining 3, ss the whole chain into the next sc , work 1 sc in the next st and ch 3, ss the chain into the next sc  repeat * to * all the way around in a spiral for rounds 2 and 3. 
Rnd 4: Working through front loops only, join yellow acrylic and work * 1 sc in first st and continue by chaining 5, then ss the chain into the next st*,  repeat * to *  in the next chain and all the way around through round 5.  Fasten off.


Handle Strap Instructions:
With brown, ch 20.
Row 1: Sc in 2nd ch from hook and in each ch across – 19 sts.
Row 2: Ch 1, turn, sc in each st across. Fasten off.
 
This is my first time sharing a pattern so please feel free to ask questions and I will do my best to answer them timely. Any suggestions are welcome as well.
 
Enjoy!


Saturday 21 September 2013

Cupcake Liner Party Decoration D.I.Y.

   
September is a busy month for us with back-to-school, my husband's birthday, our anniversary and my oldest daughter's birthday all in a two week span.  I love everything handcrafted for parties including the decorations, cake and invitations but it can seem like a never-ending birthday month!

That's why I was ecstatic to find this last minute do-it-yourself number decoration.  It's resourceful and cheap.  The original instructions on Pinterest used coffee filters and foam for supplies.  I had neither of these things and didn't have time (or desire sorry) to dye the filters. Instead I used a package of fancy cupcake liners turned-inside-out, a cardboard box, and a few glue sticks for a project total of $2.80. 

Before

I ran out of cupcake liners on the number "0" and definitely had no time to run to the store so I filled in the spaces with some beautiful paper flowers.  You can find the instructions on how to make these incredibly easy coiled flowers here.

After

Close up


Dear Emily,

We love you so much and could not be more proud of you on your tenth birthday! You have found your light which is half the battle in life now really let it shine.  You are intelligent, creative, forgiving and simply amazing!  Always know that we are here to guide and cheer you on as you find your purpose in this beautiful and challenging world we live in. 

Love Mom & Dad
xoxoxo


Feel free to share your craft projects and photo's on our Facebook Page.  We would love to see them!


Thursday 19 September 2013

Rain Chain Rock Craft Kids

 
Yesterday I gave my children some loose parts thinking they could have some fun making a wind chime or a mobile using their summer rock heart collection.  To my surprise they made a rain chain - they just didn't know it!

After explaining what a rain chain is Wikipedia definition: Rain chains (Japanese: 鎖樋, kusari-toi or kusari-doi,[1] are alternatives to a downspout. They are widely used in Japan. Their purpose is largely decorative, to make a water feature out of the transport of rainwater from the guttering downwards to a drain) my kids started wrapping floral wire with one cm strips of duct tape to help prevent rust. 

Everything but the kitchen sink went into their 10 foot long rain chain...washers, paperclips, marbles, rocks, duct tape, key chains, beads, and glass ornaments and more!.


It's a beautiful day here in British Columbia but we can't wait for it to rain! 


Next time we're at our local hardware store we plan to purchase some copper wire and wrap the rest of the heart shaped rocks into a long lasting rain chain for the backyard like this one I found on Garden Therapy


Here is a link to some further reading on the history of rain chains by Outdora Blog.

Update:

 
Oh my goodness it finally rained today and we were treated to a pleasant trickle of drops that made it appear as if the hearts were crying.  The girls were mesmerized and it motivated me even more to make that trip to the hardware store!

Feel free to share your craft projects and photo's on our Facebook Page.  We would love to see them!


Saturday 14 September 2013

Crochet Tic Tac Toe Game

Hello, I set aside a weekend to crochet a Tic Tac Toe game and was surprised to be finished in a day. This project was quick and easy peasy enough for my kids to make requiring only single crochet stitches.  

 
There is a handy little pouch in the middle for storing the game pieces.  Our plan is to modify the instructions to attach magnets in the center storage area and to the backs of the pieces to turn this set into a travel game.
 
My children and their friends love handmade toys and if they are the kind they can do it themselves it's even better because half the fun is in making them!


If you like this pattern you might also enjoy our Frisbee's, Hacky Sack and Checker Game in our post titled "Crochet Games and Toys".

Here is the free Crochet Tic Tac Toe Pattern by Lion Brand.

Feel free to share your crochet projects and photo's on our Facebook Page.  We would love to see them!


Thursday 12 September 2013

Russian Coiled Paper Craft


Coiled Paper Garland
 
Can you believe this pretty garland was made out of scrapbooking paper? Save your scraps or recycle a pile of magazines and try this easy (but not quick) method of coiling paper to make beautiful Russian inspired paper crafts. 
 
For supplies you will need paper (magazine, newspaper, corrugated paper, saved up scrapbooking scraps) a glue gun, lots of glue sticks and scissors. I didn't have any corrugated paper.  Instead I used designer scissors to give sheets of double sided scrapbooking scraps rough edges.
 
 
The roses are made with 4 easy steps: 
 
Step 1 Draw a spiral.
Step 2 Cut along the lines (wavy or straight).
Step 3 Roll the strip up tight and relax it a wee bit
Step 4 Hot glue the bottom to hold the flower together.
 
 
Gorgeous paper flowers!

 
The ornaments are crafted by coiling strips of colour coordinated paper and gluing them together in shapes.


Please feel free to share photo's of your paper projects on our Facebook Page. We would love to see them.


Tuesday 10 September 2013

Duct Tape Craft Stick Doll Invites

After having so much fun crafting Clothespin Dolls my daughter wanted to make a bunch of craft stick dolls to resemble her friends and give them out as birthday party invitations.   


Fashion duct tape definitely made for some super cool outfits and stick on gems added blitz.


We cut up a polka dot fleece scarf neither of the girls would ever wear to make sleeping bags and glued them to the front of scrapbook paper. Good old metallic sharpie pens took care of the rest. The R.S.V.P., address, date and time were written on the back of the invites. 

Claire with curly hair.

My girls were entertained for a few hours with just the outfits never mind the finished dolls.  Plus, the invitations can be checked off my "To Do" list!

Coming soon...
Fairy Acorn Clothespin Dolls


Cheers!

Feel free to share your project's on our Facebook Page.  We would love to see them!

Friday 6 September 2013

Mason Jar Lid Frame Craft


Mason Jar Lid Frames are cheap, easy to find and a super fun craft for boys and girls to do together. 


For supplies the kids needed a mason jar lid, hot glue, assorted hardware bits and bolts, a pencil and scissors.  ** Due to the hot glue and sharp tools constant supervision was required for this activity. 
 
 
Step 1: Trace around the lid on a photo or a drawing.


Step 2: Cut and paste the picture inside the top of the lid.

Step 3: Glue or hammer tools on the outside rim of the lid.  We added ribbon (optional).

 
Adorable finished Mason Jar Frames for the wall or as ornaments for the Christmas tree! We plan to try flowers, fabric, felt and lace on the lids next. 
 
 
More creations from the kids tool craft table!  Amazing what kids can make with glue, some hardware and a little imagination! 

 
...a visit from a famous singer, oh my!
 
Feel free to share your project's on our Facebook Page.  We would love to see them!

Thursday 5 September 2013

Worry Dolls Modern Craft

A good friend recently gave me a box of wooden clothespin supplies. I knew immediately I wanted to make a set of worry dolls for my daughter's upcoming birthday.


Traditionally in Guatemala, worry dolls are made by thread-wrapping colorful string around little pieces of wood. Children talk about their troubles with the dolls and tuck them under their pillows.  The little dolls worry for the child in their place so the kids can get a good sleep.  

The string technique is a little trickier then it looks to avoid having the dolls look voo doo.  I set about upcycling a bag of doll clothing we found at a garage sale instead.  I plan to give the thread-wrapping another try at a later date.


Fairy. 


 Mermaid and her Prince. 

 For the dolls hair I snipped some of my daughter's My Little Pony tails...shhh! and glued it on to a tiny headband.  Painting crowns on with acrylic works okay too. I used a black Sharpie pen for the faces. Prince charming sports pompom hair. 


Back to school transition can be tough on kids.  Hopefully, these little worry dolls will ease some anxiety.


Many psychologists believe children involved in making the dolls will further increase the psychological benefits of releasing worries.  I plan to give the kids the rest of the box of supplies and let them work their charm.


and here is what their charm came up with...


My oldest daughter finished two dolls in the time it took me to create half of one!

If pressed for time Green Kid Crafts offers a wonderful kit complete with everything you need to make your own Guatemalan Worry Dolls: 

The kit comes with upcycled fabric, glue, pipe cleaners, wooden clothespins, and detailed instructions.  Free shipping on all Green Kid Crafts Subscription boxes for kids.

Update: 
My daughter absolutely adored her Worry Doll birthday gift. She spent a considerable amount of time checking out every little detail of their outfits AND hair which brought lots of squeals of laughter.  


Emily treasures them so much she made a little Fairy Sensory Tin for them.

Feel free to share your project's on our Facebook Page.  We would love to see them!