It's a Piñata! My children decided to get ambitious and went D.I.Y. style. From this angle it's a beautiful butterfly resting on a rose bush.
The first step to making a piñata is to decide what type of material you want to construct it from. We used a combination of newspaper and flour, plaster of paris and cardboard. Next time we will choose only one of these methods.
We soaked newspaper strips in a salted 1:2 ratio of flour and water (approximately two tablespoons of salt will help prevent mold). This is the cheapest method of making a piñata.
Cover the balloon with strips of thoroughly soaked newspaper. Let each layer dry in between to help further prevent mold. Keep doing this step until the piñata feels hard and strong. Apparently, you can sand and drill a flour piñata. They are that strong!
At this stage the piñata started to get heavier. We placed a rock in a bowl to anchor it to the table. The layers took at least a day in between to dry.
While making handmade chalk one morning from plaster of paris we added a layer of it to the piñata. We didn't let the newspaper strips soak long enough and they basically flaked off the next day.
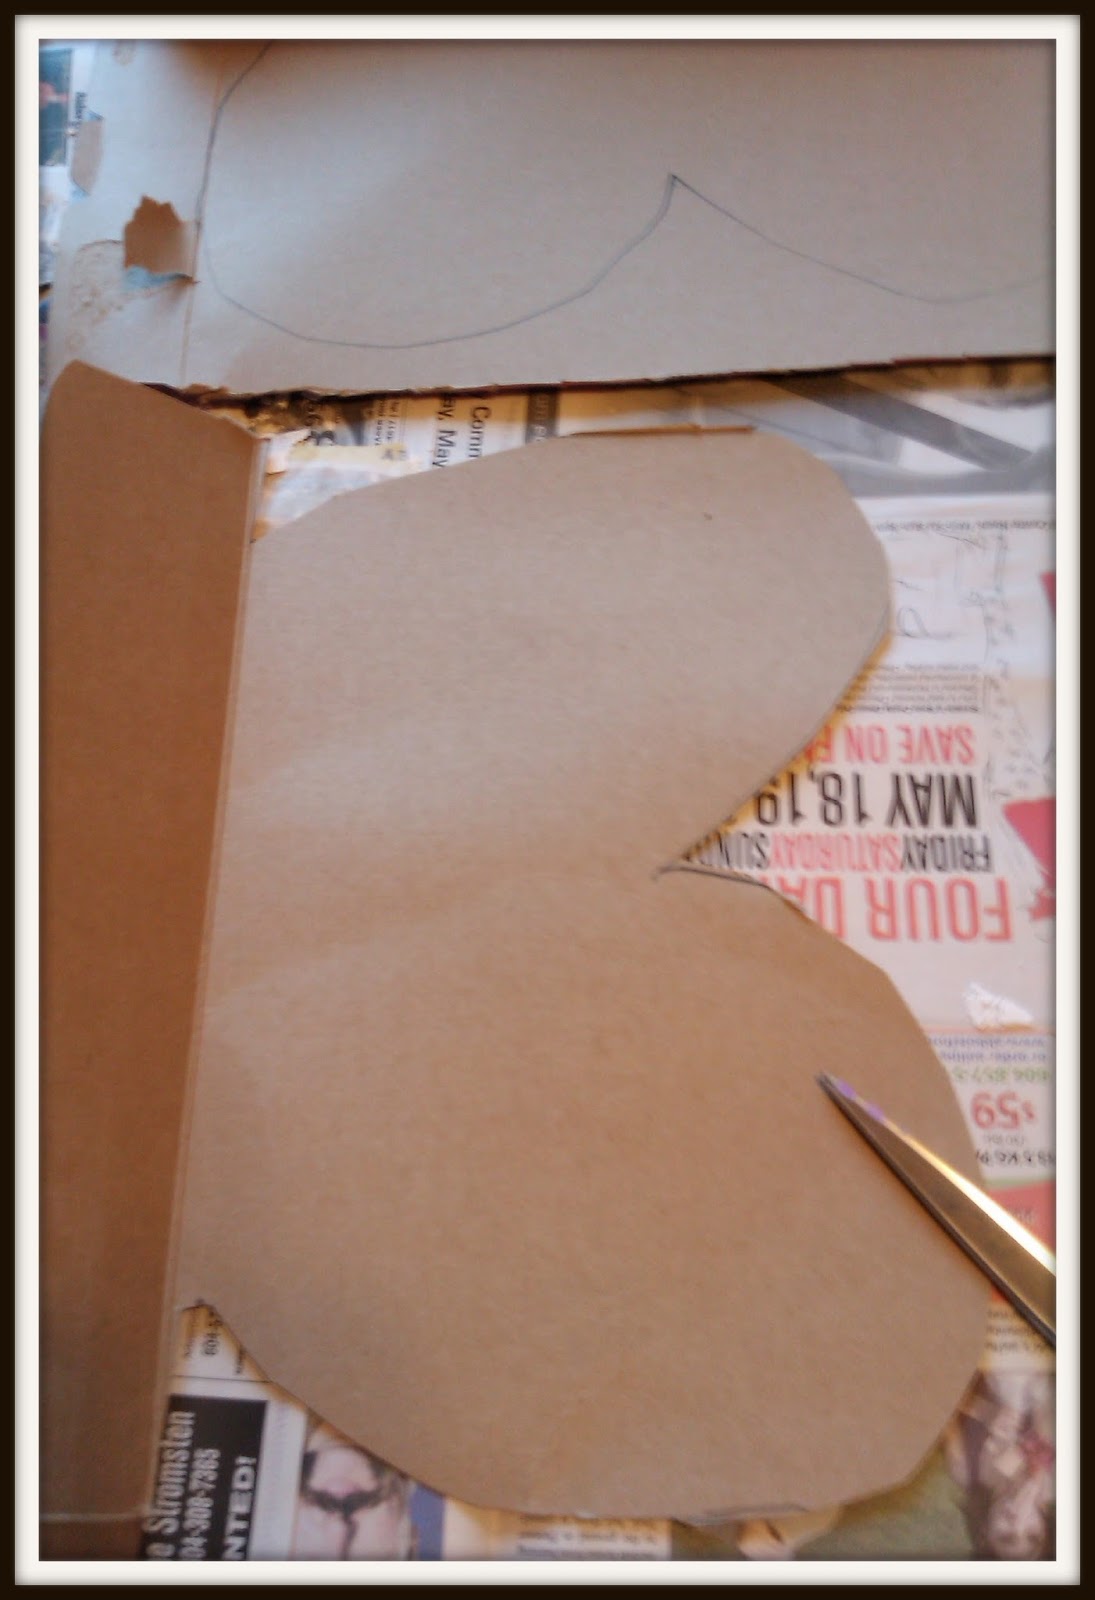
Our plan was to add cardboard wings and have the round balloon act as the body of a butterfly. We would need to plaster a long skinny balloon for this to work. Instead we cut a butterfly shape from a cereal box and pretended the balloon was a rose.
Taping a cardboard shape together and decorating it is another method of making a piñata we will definitely try in the future. I'm thinking less mess!
We chose a traditional method of finishing off our piñata with crepe tissue paper. We glued the entire piñata with scrunched flowers. This took us at least half a day. Next time we will consider fraying the edges of long crepe strips. Thankfully the kids remembered to leave a hole at the top for the candy and toys!
A Butterfly!
We ran out of pink tissue paper so we changed the rose to a rose bush and added some green along the bottom. From this angle our piñata looks like a Ferbie or dare I say...weirdo bunny!
The children learned a lot about the artistic process of Paper Mache. The party will have a two-in-one decoration-activity they can laugh about.
Please feel free to share with us your craft stories. Also, if you have photo's of your projects we would
love to see them on our Facebook
Page.
Cheers!